
I really like the idea of art being functional and so I put art on books and in books.
I figured out how to bind books by looking at a handful of websites on the subject and in the hopes that it may inspire you to make your own books, here is a step by step of how I do it.
If you have bought any of my books, you can see how they were made (the ones in the photos are currently for sale in Parramatta at Making Spaces Marketplace)
OoooooKay.
What you need:
Scissors, glue, cardboard, waxed linen, a big ole needle (bookbinding or tapestry needles are fine), an awl, and paper.

Cut two pieces of cardboard for your front and back cover. (make them a little bit bigger than the signatures) Then wrap them up in whatever you want to be on your covers. I have used some prints I made just for these books. But you can decorate them however you like.
Put your covers together with your signatures and when you have them lined up how you like, draw spots where you want to bind the book.
After making a couple of books I would suggest that you do it like this
---*--*--------*--*---------*--*--- (the * is where the stitches will be visible) Using an awl, stab holes in each of your signatures (make sure they line up or you'll end up with a crooked book) I lay the signatures in an open book to make it easier to stab. (and its the only use my old biology text books get these days... good on you university) Holes at corresponding distances need to stabbed in the front and back covers at least an inch from the edge.
If you get confused, stack everything back together like a book to see if it lines up.
Now you're ready to sew it all together! (enjoy the confusion of my instructions!)
 The length of thread you need should be (approximately) height of the book x number of signatures +2 ... I have 4 signatures, so I wrapped the thread around the front cover (top to bottom) till I had 6 lengths. Easy.
Start inside your first signature, at the bottom hole.

Pull your thread through leaving just a little tail inside the book (enough to tie a knot)
Bring your needle through the corresponding hole on the front cover from the outside of the cover to the inside.
Then bring your thread back into the hole of the signature that you started at. (so it's just a big loop to tie the cover onto your signature)
 Tie a knot.
Move up to the next hole up, and follow the same steps to attach the front cover to the first signature of your book don't worry about the knot though... that's just for the first one.
Continue up until you get to the last hole right at the top, sew the loop attaching the front cover to the signature and then do NOT bring the needle back into the signature.
Instead, make a small knot (if you can see in the photos how that's done) and then bring your needle from the outside into the top hole of the next signature.

Make sure you keep pulling your thread taught. If its loose your binding will be wobbly, and if it's too tight you could rip your paper (annoying) or end up with a book that sits open (also annoying though it does stretch out)
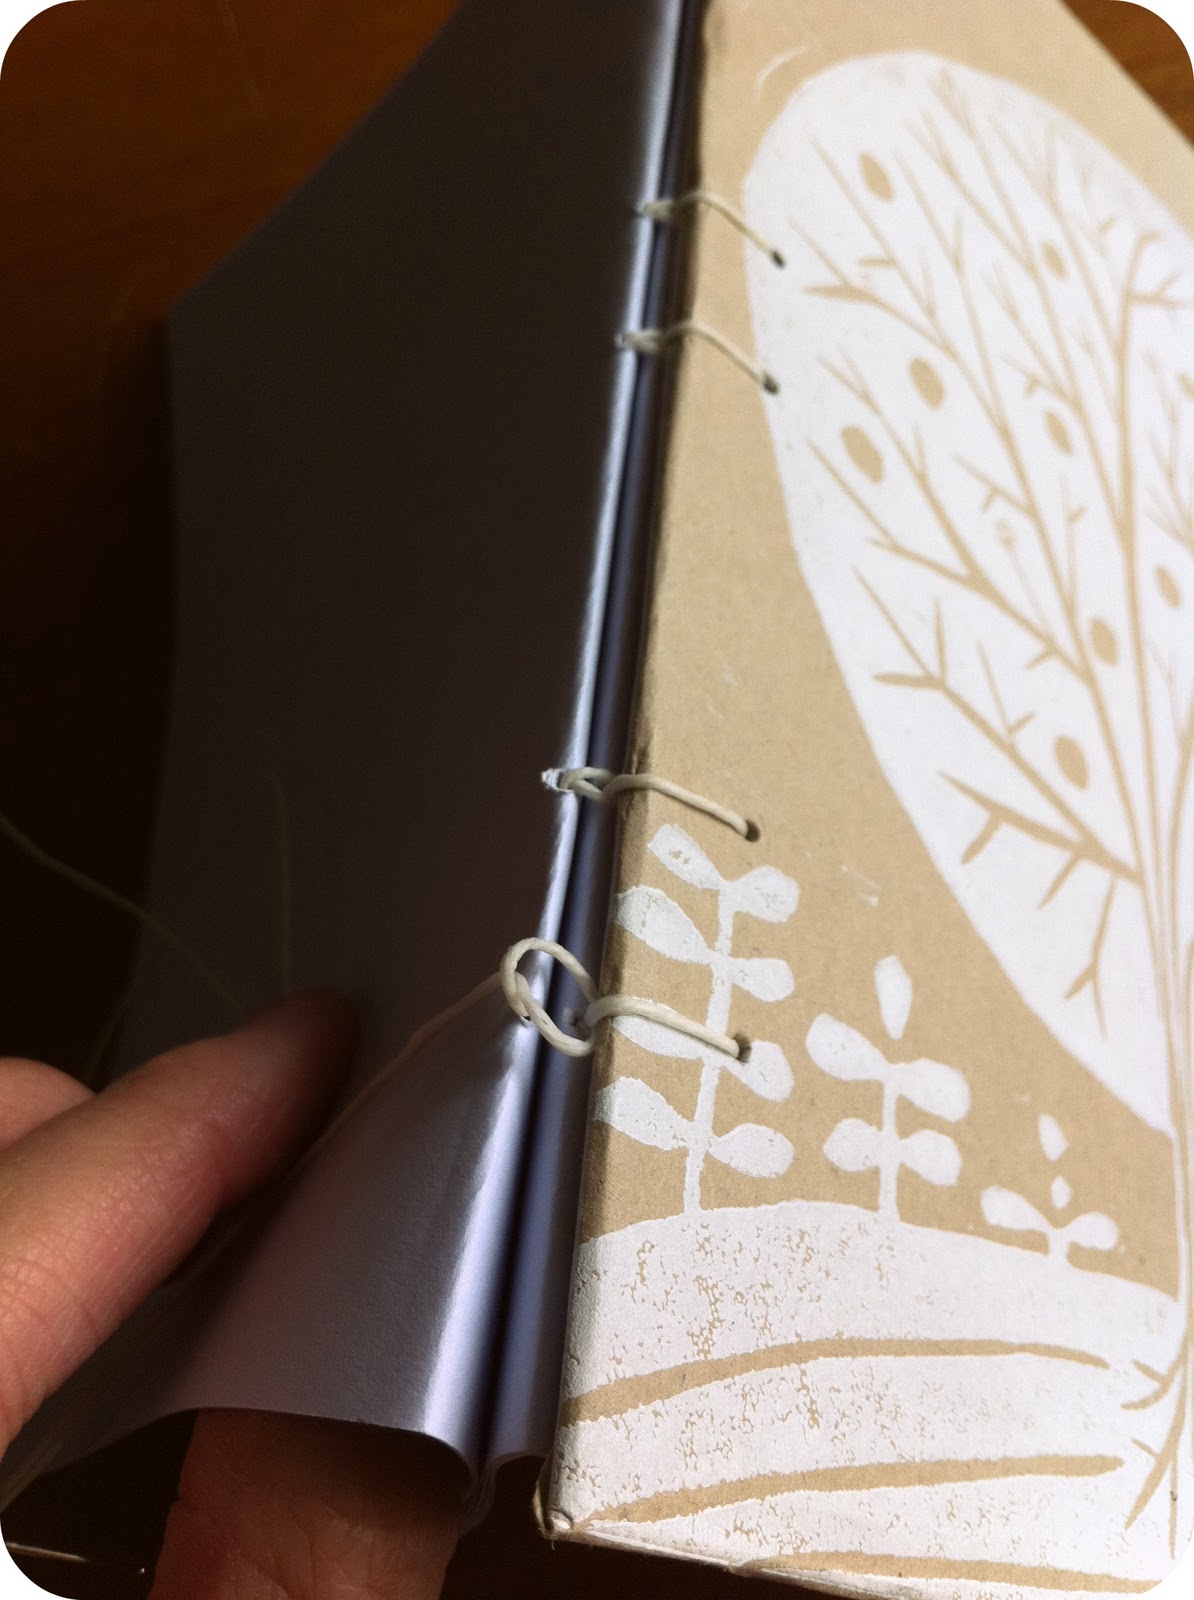
 From the inside of your second signature move to the next hole down and bring your needle back out. With this type of binding you are always only really attaching each signature to the one in front of it. So loop your needle under the stitch holding the first signature to the cover, and then bring it back into the second signature - the hole where you started the stitch. ------>
Keep doing this until you get to the last hole where again you just sew a little knot around the previous stitch and then move on to the third signature. (I hope these instructions are making sense... here are some more photos)
Keep going like this until you get to the end of your final signature. At this point you are just doing the reverse of what you did to sew the front cover on. From the outside of the final signature loop through the coordinating hole of the back cover and back inside the signature.
Sew down through each hole, attaching the back cover to the final signature. Loop through the last hole, then stitch a little knot inside the signature.

Done.

and here's some I prepared earlier
You are clever :)
ReplyDeleteA fantastic tutorial! Thanks for taking the time to create it. I've added your site onto our page 'Top 10 Coptic Stitch Binding Tutorials on the Internet' - http://www.ibookbinding.com/blog/top-10-online-coptic-stitch-book-binding-tutorials/
ReplyDeleteI hope our post will draw in some more visitors to your site.
Keep up the good work and again, many thanks for taking the time to make it.
Have a good rest of the day,
Paul