Showing posts with label diy. Show all posts

Thursday, 26 July 2012

The Art Journal - Page 4 (& 5)

Goals.

So this is a double page spread I suppose. (and the blurriest photo yet)


I think its good to regularly write down and reassess my goals - it helps me track how close (or far away) I am to achieving them.
So this page is about that.

I painted the background, cut the letters out of scrap paper - to use as templates for the nice paper and then just stuck some bits and pieces down. You can cut out a printed font if you aren't too keen on what you come up with free hand.
All the paper I've used so far in this book is much like what I put in the kits for sale on etsy.

Sometimes you don't want just anyone reading the things you write so there are lots of ways to hide your writing. I made a flap to hide my more personal goals behind. The hinge stickers are obviously purpose made, but you can make your own, or just glue down part of the page and fold it over.


What are your goals? What do you want to be when you grow up? (I still don't feel like I have) Write them down!

Some tips:
  • Add another dimension to your page by adding a flap/pocket/envelope for you to hide a message in. 
  • Don't be too precious or perfectionist about your pages (especially when you use paint)

Friday, 20 July 2012

The Art Journal - Page 3

THIS IS WHY... continued.

These pages face each other and so I thought it would be good for them to share a theme.


My husband is not an overly sentimental fellow. (understatement)

One day though, I know that I will be glad that I have bothered to write/create/spew these books, because it will help him, and our children, and their children (if they last that long) to know me, and perhaps even him, better.
It certainly isn't my primary motivation, but with one little kiddie-winkle running wild on this world and another one kicking my internal organs (even as I type this), it seems like a nice thought that one day they'd be able to look at these - my creative spewings - and get to know me at 27.


This page has... a wonderful drawing from Ky and Gabe during church, a photo of the boys in Raro, a rubbing or a lino cut plate, and more paper off cuts. (Art journaling is a great way to get rid of scrap paper!)

I also sewed some things on with wool.


Use photos in your pages!These boys are my favourite people, who are yours? Make a page about them! Art journaling is a lot looser than scrap booking and there really are no rules.

Some tips:
  • Try sewing things on. If the paper/card is thick, stab the holes first with an awl. 
  • Make your own paper - with stamps, leaf rubbings, drawings, hand prints...
  • Alphabet stickers are awesome. I know I was all like 'love your handwriting' and you should, but variety is good too. 
 In other news... my camera is no good at taking photos of flat things - like pages of art journals. The edges are ALWAYS blurry.

Thursday, 12 July 2012

The Art Journal - Page 2

Why I do it. 

This page was inspired ENTIRELY by Roy Batty, the deep thinking android from Blade Runner. 


"All these moments will be lost in time, 
like tears in rain."

With no record of them, my moments will disappear with me, and to be 'American Beauty' style sentimental for a moment - life can be poignantly, pleasantly, and even painfully beautiful - and I don't want to lose those snapshots. 

What I think is beautiful says as much (if not more) about me, and my concept of beauty, but things like beauty are highly subjective and I will enjoy looking back one day at these creations which illustrate in more than just words the details that I believe make life truly wonderful. 


This page is layered again... they all are... this time focusing on a photograph I took several years ago while living in Taiwan. 
This man held his granddaughter so carefully as the train moved. I thought it was such a precious moment that I had to take a photo... even though taking photos of strangers is a REALLY creepy thing to do. 

The vintage image of the woman came from a tarot deck which I cut up, because I liked the pictures. (Don't like tarot - I think its freaky) but the lady in this picture seems really sad, and journals should encompass the whole range of emotions that make up our lives. Even the sad ones. 


I cut 2 different papers into strips and wove them together just for some difference in texture. Stuck things down, then painted on the photo and print with acrylic paint - so that I could write legibly over them. 

What inspires you? Collect together some of the words, images, memories that inspire your work and your life and put them onto paper!

Some tips:
  • Old magazine pages make cool paper weaves because it mingles the pictures. 
  • Don't be afraid of painting on/writing on/or cutting photos. You can get them reprinted. (Unless you can't in which case - have a care!)
  • Download free fonts (like I obviously didn't) for ideas, or to print out.

Friday, 6 July 2012

Art Journal #1 All about you (or rather - me)

#1 Self Portrait / an Introduction.

This is what I drew as my 'photo-a-day' effort for July 1. I don't think it looks very much like me... I kind of went crazy with artistic license and make my eyes bigger and made a bunch of other non deliberate changes. When I showed Gabe, he said "mummy!" which was good enough for me.


 Coincidentally, it is also the basis for what is the title page/ introduction/ whatever, for my A4 art journal. If you would like to follow along with me as I make this book, I will be posting new pages on Friday or Saturday with different styles/mediums/techniques and hopefully it will help you to make your own.

Weekend Projects!!


I thought that it was important for me to get back into what used to be one of my favourite ways to express myself as a teenager. After putting together the "FUN STUFF" kits I had a lot of things out and a lot of inspiration to really get into art-journaling.

This page has a lot of layers.
Paint - an assortment of paper - some fabric - staples - glue - and a bunch of writing.

I think it is great to have intros or title pages for art journals, especially when you anticipate other people looking through them. Also its nice looking back to see your intentions for the book spelled out and just to break into a nice blank book... which can be a bit intimidating (in my opinion)


Some tips with this page:
  • Fixative spray on pencil drawings (or writing) is reaaaaallly useful in helping them last without turning into really smudgy messes (and mirroring themselves on the opposite pages)
  • Lay things out before you crack out the glue stick. 
  • Love your handwriting! I'll go on and on about this, but it's a great way to have something 100% uniquely you in your book. If you aren't really confident, practice on another page first or use pencil. (If I had done this I would have far less spelling mistakes in my work...)

Monday, 2 July 2012

Art journaling kits and fun stuff

The idea for travel journal kits, or journal kits... or anything like this, isn't exactly original - I am NOT claiming in any way that this is some grand idea that I had all on my own.

What I did do, was realise that I have an awful lot of goodies collected from years of hoarding, working in a scrapbooking store, and general magpie tendencies. I will never use them all, and that is a real shame, so I have collected some things into packages, made some books to go with them, and come up with these.


I personally think the books are GREAT. These ARE my idea, because I don't like it when books swell up because they get overfilled (which happens all the time) but I also don't like wire ring type bindings.
This way, I have been able to put together a lot of paper that I love, make a book which is wire bound - and can therefore expand as things are stuck into it, but have a cover to protect the spine, and cover it up when it's on the shelf.


Friday, 22 June 2012

"Seek me, here I come"

Another album that I like is Gravity Won't Get You High by the quirky and cool The Grates.

I didn't take a photo of the CD art all folded up, but they do cool cut out stuff too, like The Shins.
What I decided to take from this cool collage though, is that giraffe.


Its drawn on patterned paper, something which I appear to have an excess of. So I looted the scrapbooking paper stash, grabbed Gabe's toy horse for reference and got cracking. 

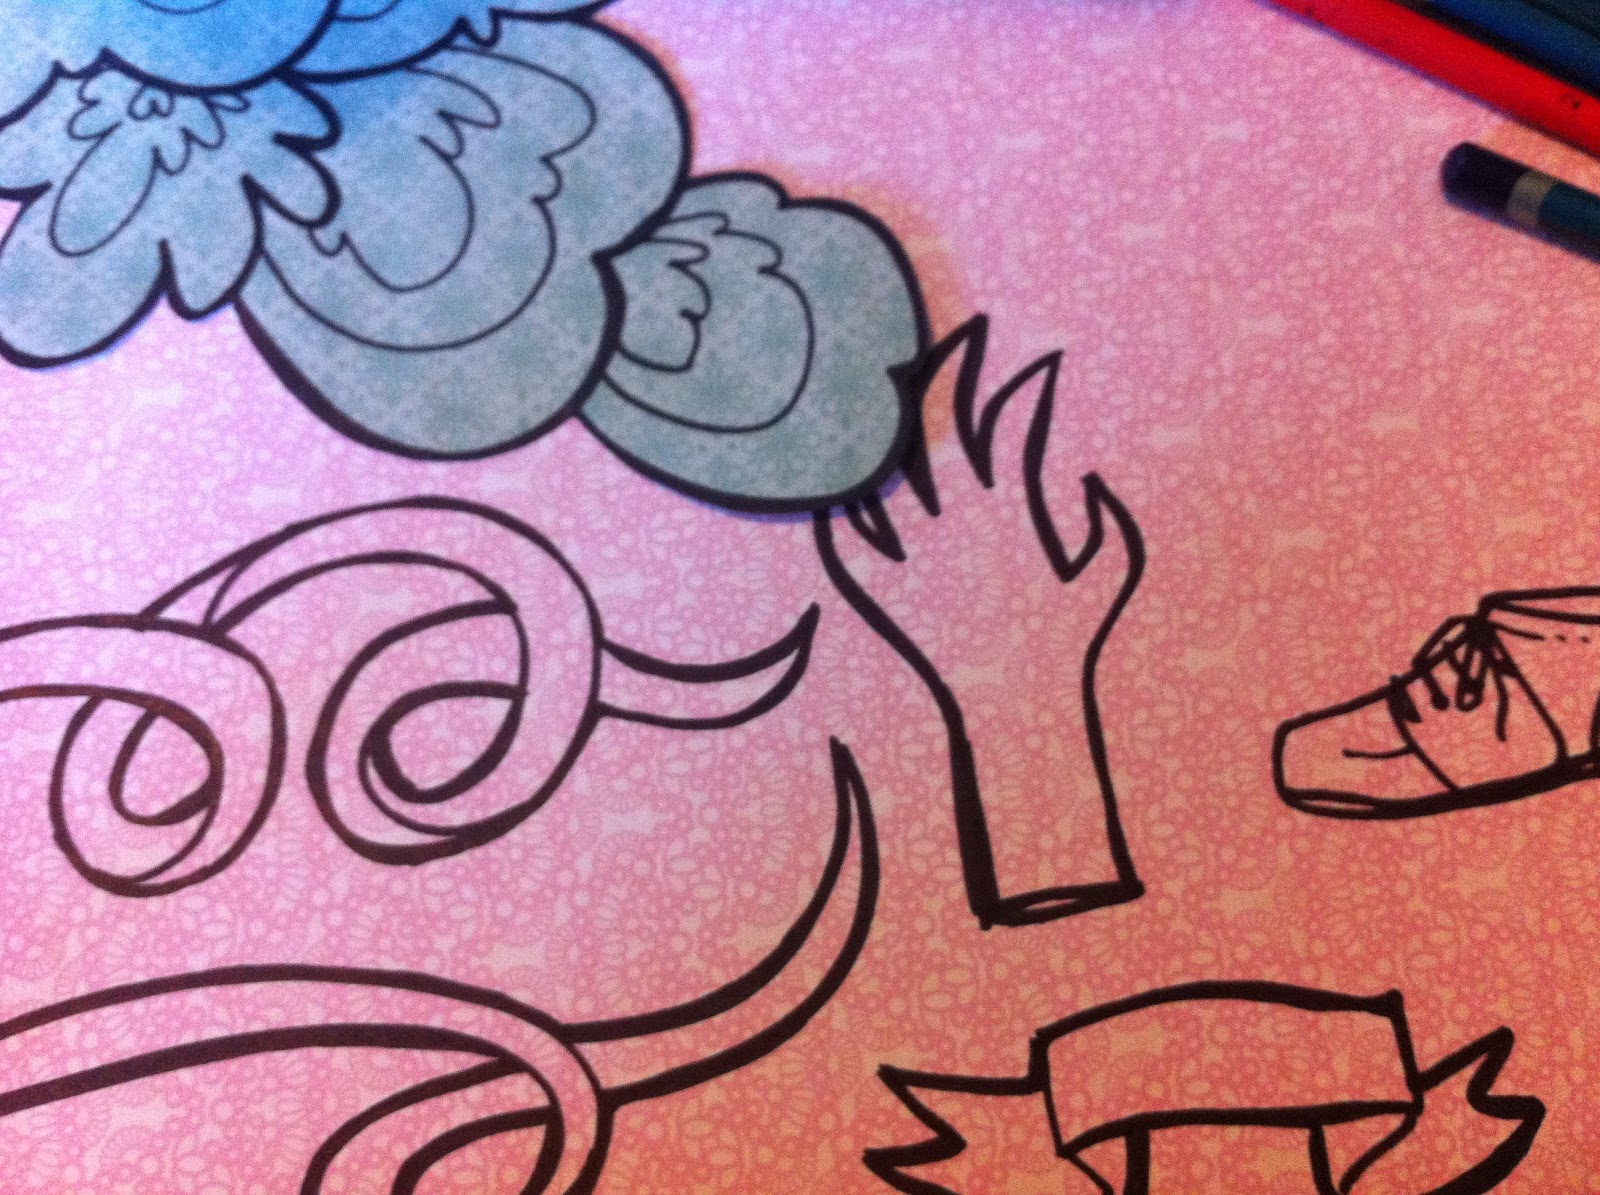
I sketched up a horse in pencil first and then drew around the outline in thick pen. 


Shade in other parts with another pen (ball point will do) just so that you don't entirely cover up the pattern on the paper.


Then I cut it out, making sure to keep the far outline as the thickest. Here are the two horses together... the one I drew has very weak back legs... terrible job on that one. 


I grabbed some other paper and drew up some patterns and cut out a whole lot of things that I can use later for embellishments and such in my book. All with a marker and a pair of scissors. Heck yes. 

I reckon it would be a great way to use up the scraps of paper that I have around the places, and its nice to have things in my books that I made, rather than stickers and things made by other people. Especially since the things other people made have to be paid for with money... which I often experience a shortage of. 


Thursday, 31 May 2012

Framed - kind of a tutorial.

Last night we only had one young lady for youth and so we gathered at Jess's house and chilled out on the floor in front of Aladdin (which I still know off by heart...) and decided to get crafty.

It's not something new to me, but sometimes it just strikes me just how effective a frame can be in 'legitimising' an arty creation. We illustrated this last night with what is probably one of the simplest and easiest art projects EVER. 

First - get some paper. A variety of scrap booking paper, or just one pattern, or you could use coloured paper or just whatever.
Second - Cut it into circles of varying imperfection.
Third - Glue the circles down on another piece of paper in a pattern (however you like) 
Fourth - Draw on a trunk and branches with any kind of pen you like. I used a regular old ball point.
Fifth - Now this is important. Put it in a frame.

You can do lots of things with it.


Add little drawings of things or do whatever you want. I put smaller circles on top of some of the trees for variety and no one is surprised that I chose a red riding hood theme... Trees and Red Riding Hood... Predictable much?

Our lovely ballerina with her creation. She used one pattern of paper and kept it simple and it looks AWESOME.
Jess did one with the trees in a row and some of them overlapped so she got to use the always epic foam tape. I didn't get a photo, but it had a very cute little stick figure couple in it which totally WON. I didn't get a photo of Charlotte's one either - but I will update you with more alternatives on this mega easy and therefore awesome art project.

UPDATE: Jess has posted some awesome pictures of her work on her blog, so go check it out... along with the most babe-a-licious photo of me evar... ahem.

Sunday, 26 February 2012

scatter sunshine

Sending things in the post is pretty awesome. I have a fair number of friends who live far away and so sending things is good. Paying more for postage than you did for what you are sending? Significantly less so.

I have seen these teeny canvas panels in shops for a while, and had absolutely no notion as to how to use them. Till I decided to start sending things in the mail again. (see: 2012 resolutions)


I painted little pictures on them (stuck on some fish and a boat made out of calendar paper). Glued a little note card on the back. Sealed the whole thing with a coat of varnish-y stuff. And now there are tiny and highly mailable art cards to send to people!!

I really like them.

Thursday, 9 February 2012

As easy as 1 2 3

Earlier I was going on about what I wanted to put up in Gabriel's room.

So today I made this... it's super easy and uses up paper scraps of which I have many. 
I got a cheap plastic frame from a $2 shop (it cost more than $2, but on a side note, those shops are seriously awesome) Then I cut some craft paper to fit inside, traced letters onto different patterns of paper, cut them out, stuck them down and closed the frame.
So easy.


 The letters I traced were die cuts (di-cuts?)... (whatever)... from Basic Grey that I had from my days working at the Scrapbook Burrow. This is the first time I've used them since then. I imagine that it would be a simple thing to use any kind of font you wanted (thanks The Internet) it would just take a little more prep. That way you could change the size up too.

I didn't have the time, or patience. I did this while Gabe was sleeping.


Easy.

Tuesday, 7 February 2012

Wall Space

Renting kind of sucks.

This is especially true when you want to hang things on the walls. Thanks to 3M and their patented (and awesome) Command strips, I now have some things on the walls. Nothing really matches anything else, but I like it just the same.

Given that I create a lot, putting things on the walls kind of keeps them from messing up the ground... If you have seen my house you know that I probably need to put more on the walls... but it's a start.


I do have small pegs somewhere...just not sure where. Those big ones look a tad ridiculous.


Geek out. Wood elf spell caster and Valkia consort of Khorne. 


Old Chinese frame mum dug up Time Team style, Gabriel's hand prints, landscape by Joyce Chitty (Kyle's artist Gran) Gabriel asleep in the lagoon and the 'i love you' canvas. Told you I would do it. 
Sorry about the blurry photos...

I have always had heaps of pictures/posters/photos up in my room. I remember spending hours sticking up pictures from magazines when I was a teenager. Now everything is in frames and my fondness for buying lots of magazines has been curbed by financial priorities, but I still like the idea of making a space more interesting by putting cool things all over it.

What do you have up in your house?


ps. Thanks Jess for the magazine, I put it to good use as you can see (or at least use). In the end I even had too many letters... definitely would look better on a bigger canvas I think, but I like how it turned out. I posted about this canvas project here

Friday, 3 February 2012

More than Words

This is so awesome. 

http://www.debsphotographs.com
The original blog post can be found here. I am totally going to do this, I only have a small canvas free at the moment and conveniently I also only have room for a relatively small frame on the wall.

Perfect.

I have painted the canvas with that same beigey weird colour that I got from Mitre 10 for $3 (thank you mis-tints!) because I'd already painted things on the canvas... and didn't like it. I'm in the process of collecting up letters. I contemplated writing different words, or song lyrics or something, but I have the feeling that it would end up looking like a ransom note from a TV movie (which while being awesome isn't really the desired affect) I would also recommend that you take the time to find letters with a variety of colours and sizes because after looting the recycling bin I have noticed that there is a proliferation of reds, yellows and greens. If only I actually bought magazines...

I wish I had a schmick camera that had a cool lens that would take photos of flat things and not distort the edges.
I will take a photo though. You'll see.

Tuesday, 31 January 2012

Wooden Tree


I love trees. I love family. I love art. 
Conveniently they are three things that go together super well. A while back I drew up a family tree for my own family and I now have a few templates that you can use for whatever you want. Be creative - get finger printing, write names, stick on photos.... you know - stuff. Here are some of the cool trees that I found on the internet. 
http://www.etsy.com/shop/fancyprints

People Tree via http://piccsy.com

http://www.marthastewart.com

Here are the trees that you can get the pdfs for. From pdf most printers can print these up bigger. (The originals are A3.) 


... there is no word on the pdf

This is what I did with them:


Go wild. 

Tuesday, 24 January 2012

My recipe book.


Creativity is allowing yourself to make mistakes. Art is knowing which ones to keep.
- Scott Adams

In an attempt to maintain some kind of creative motivation I have created a recipe book... of art. Using the recipes of others has never made a chef's food any less good (at least not in my opinion) and I think it is perfectly fair to be inspired by the artistic creations of more talented people than myself.

Note that I said inspired. Plagiarism is not okay. Especially if you plan on selling things. Anyway, this is what the guts of my 'recipe book' looks like. Many magazines sacrificed pages in the making of it.
Its essentially just a collection of all the things that I liked out of various magazines and IKEA brochures and things like that, stuck in one place. It's kind of fun attempting to reverse engineer things.

Modern Family has cool art... don't know if anyone else has noticed... but on top of having funny writers and actors, they also have some pretty cool people dressing their sets. Anyway.

Recognise those triangles?


I really want to do a paper cut style map... you can't really make it out, but there is a map of New York there with buildings and trees and people and words and its wonderful. I just have to think of a place that would lend itself to the style. Sydney is epic and sprawling so maybe not... 

Ideas, ideas... 


Monday, 2 January 2012

Button Tree

Due to financial restraints and some crafting mental illness I have, I decided to make (nearly) everyone's presents for Christmas.

Not that I think any of my family reads my blog, but just in case, I didn't post the things that I gave them. 
So now that the gifts are given and the stress is over, I can share some of what I made with you. 

Starting with this button tree. For mum. (I wrote all the kids names on certain of the buttons... you can kind of see it in the photos)

Corrugated cardboard is awesome. We bought some furniture from Ikea and so I have a seemingly endless source of the stuff so I have made books out of it, boxes and now art. 

I used a craft knife to cut out the design of the tree and then peeled off the top layer of paper to reveal all the corrugated guts. Then I stuck on buttons. 

Easy.


Thursday, 15 December 2011

Books for... whatever.

I make books.

I really like the idea of art being functional and so I put art on books and in books.
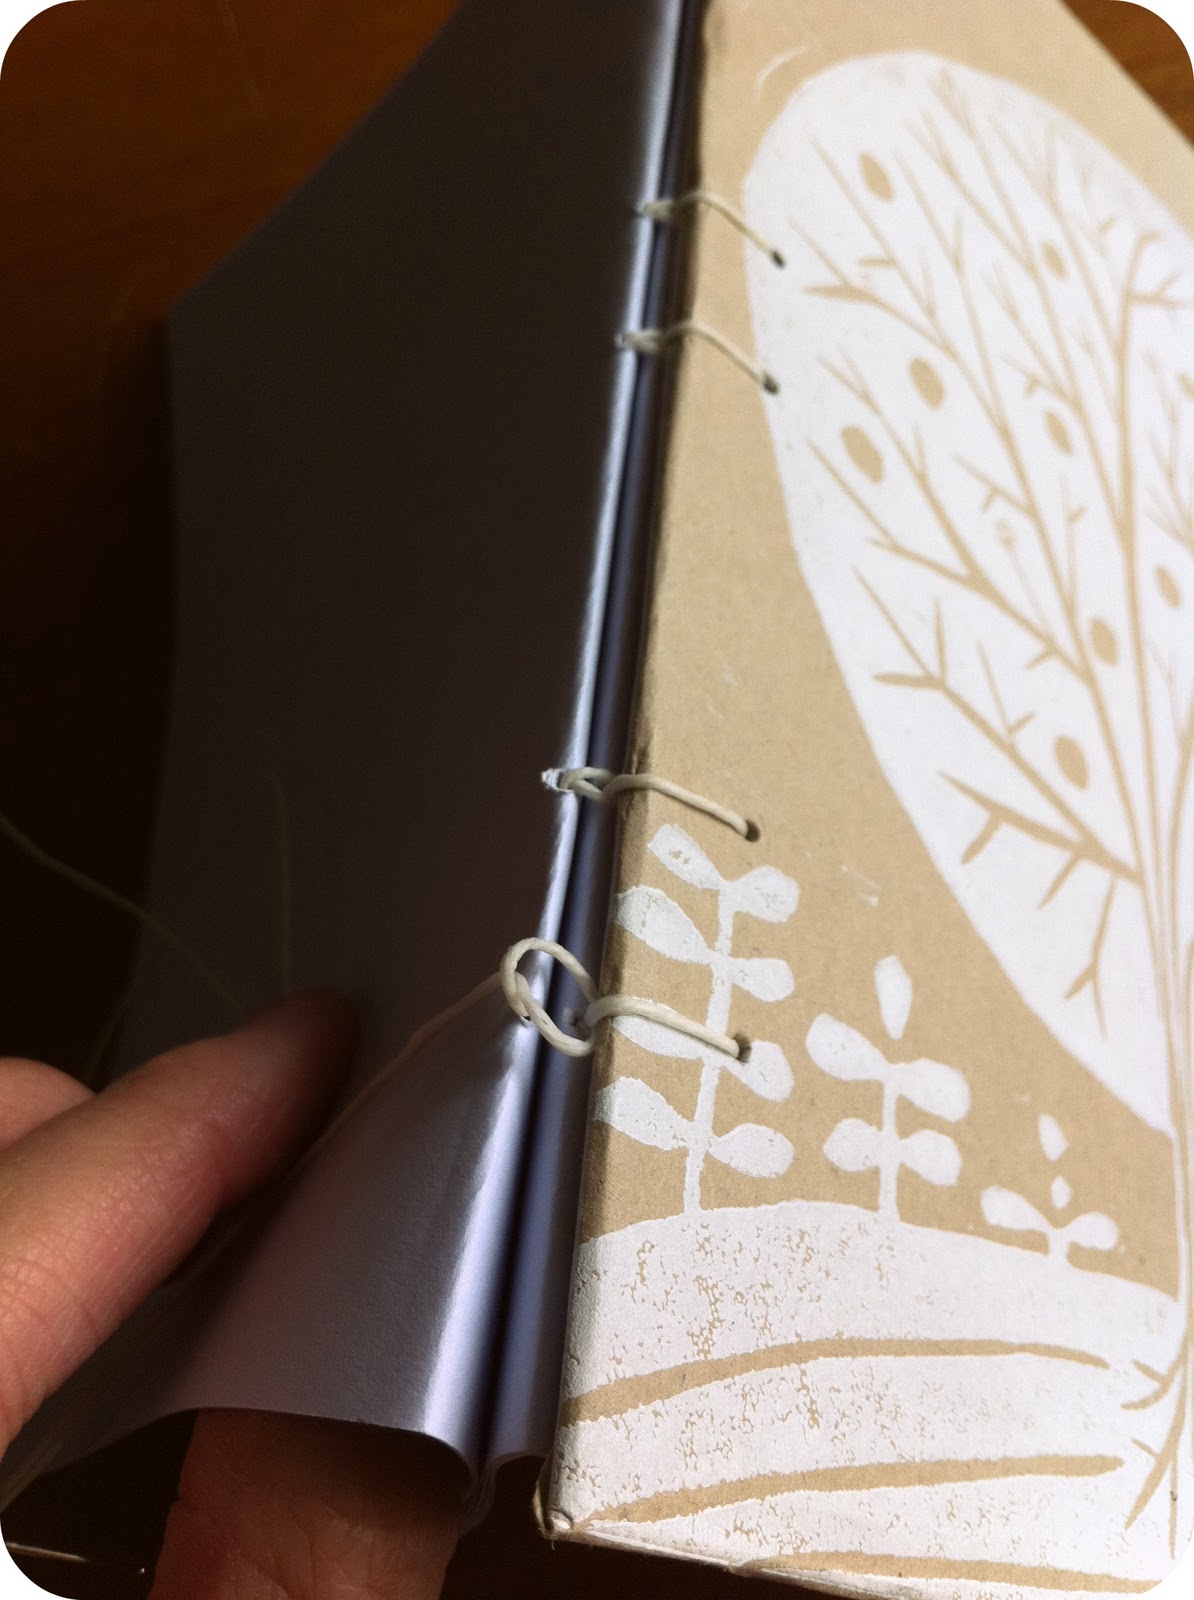
I figured out how to bind books by looking at a handful of websites on the subject and in the hopes that it may inspire you to make your own books, here is a step by step of how I do it.

If you have bought any of my books, you can see how they were made (the ones in the photos are currently for sale in Parramatta at Making Spaces Marketplace)

OoooooKay.

What you need:

Scissors, glue, cardboard, waxed linen, a big ole needle (bookbinding or tapestry needles are fine), an awl, and paper.

Gather together the paper that you want to make up the pages of your book. Fold them all half in groups of 5 or 6 ... or more or less. It really depends on what kind of paper you are using, if its really thin you can use more, if its thick - less. (logical) The folded bundles of paper are called signatures.

Cut two pieces of cardboard for your front and back cover. (make them a little bit bigger than the signatures) Then wrap them up in whatever you want to be on your covers. I have used some prints I made just for these books. But you can decorate them however you like.

Put your covers together with your signatures and when you have them lined up how you like, draw spots where you want to bind the book.
After making a couple of books I would suggest that you do it like this
 ---*--*--------*--*---------*--*--- (the * is where the stitches will be visible) Using an awl, stab holes in each of your signatures (make sure they line up or you'll end up with a crooked book) I lay the signatures in an open book to make it easier to stab. (and its the only use my old biology text books get these days... good on you university) Holes at corresponding distances need to stabbed in the front and back covers at least an inch from the edge.

If you get confused, stack everything back together like a book to see if it lines up.

Now you're ready to sew it all together! (enjoy the confusion of my instructions!)

The length of thread you need should be (approximately) height of the book x number of signatures +2 ... I have 4 signatures, so I wrapped the thread around the front cover (top to bottom) till I had 6 lengths. Easy.

Start inside your first signature, at the bottom hole.


Pull your thread through leaving just a little tail inside the book (enough to tie a knot)


Bring your needle through the corresponding hole on the front cover from the outside of the cover to the inside.
Then bring your thread back into the hole of the signature that you started at. (so it's just a big loop to tie the cover onto your signature)

Tie a knot.

Move up to the next hole up, and follow the same steps to attach the front cover to the first signature of your book don't worry about the knot though... that's just for the first one.

Continue up until you get to the last hole right at the top, sew the loop attaching the front cover to the signature and then do NOT bring the needle back into the signature.

Instead, make a small knot (if you can see in the photos how that's done) and then bring your needle from the outside into the top hole of the next signature.


Make sure you keep pulling your thread taught. If its loose your binding will be wobbly, and if it's too tight you could rip your paper (annoying) or end up with a book that sits open (also annoying though it does stretch out)
From the inside of your second signature move to the next hole down and bring your needle back out. With this type of binding you are always only really attaching each signature to the one in front of it. So loop your needle under the stitch holding the first signature to the cover, and then bring it back into the second signature - the hole where you started the stitch.  ------>


Keep doing this until you get to the last hole where again you just sew a little knot around the previous stitch and then move on to the third signature. (I hope these instructions are making sense... here are some more photos)


Keep going like this until you get to the end of your final signature. At this point you are just doing the reverse of what you did to sew the front cover on. From the outside of the final signature loop through the coordinating hole of the back cover and back inside the signature.

Sew down through each hole, attaching the back cover to the final signature. Loop through the last hole, then stitch a little knot inside the signature.


Done.

and here's some I prepared earlier