Showing posts with label handmade. Show all posts

Monday, 2 July 2012

Art journaling kits and fun stuff

The idea for travel journal kits, or journal kits... or anything like this, isn't exactly original - I am NOT claiming in any way that this is some grand idea that I had all on my own.

What I did do, was realise that I have an awful lot of goodies collected from years of hoarding, working in a scrapbooking store, and general magpie tendencies. I will never use them all, and that is a real shame, so I have collected some things into packages, made some books to go with them, and come up with these.


I personally think the books are GREAT. These ARE my idea, because I don't like it when books swell up because they get overfilled (which happens all the time) but I also don't like wire ring type bindings.
This way, I have been able to put together a lot of paper that I love, make a book which is wire bound - and can therefore expand as things are stuck into it, but have a cover to protect the spine, and cover it up when it's on the shelf.


Friday, 22 June 2012

"Seek me, here I come"

Another album that I like is Gravity Won't Get You High by the quirky and cool The Grates.

I didn't take a photo of the CD art all folded up, but they do cool cut out stuff too, like The Shins.
What I decided to take from this cool collage though, is that giraffe.


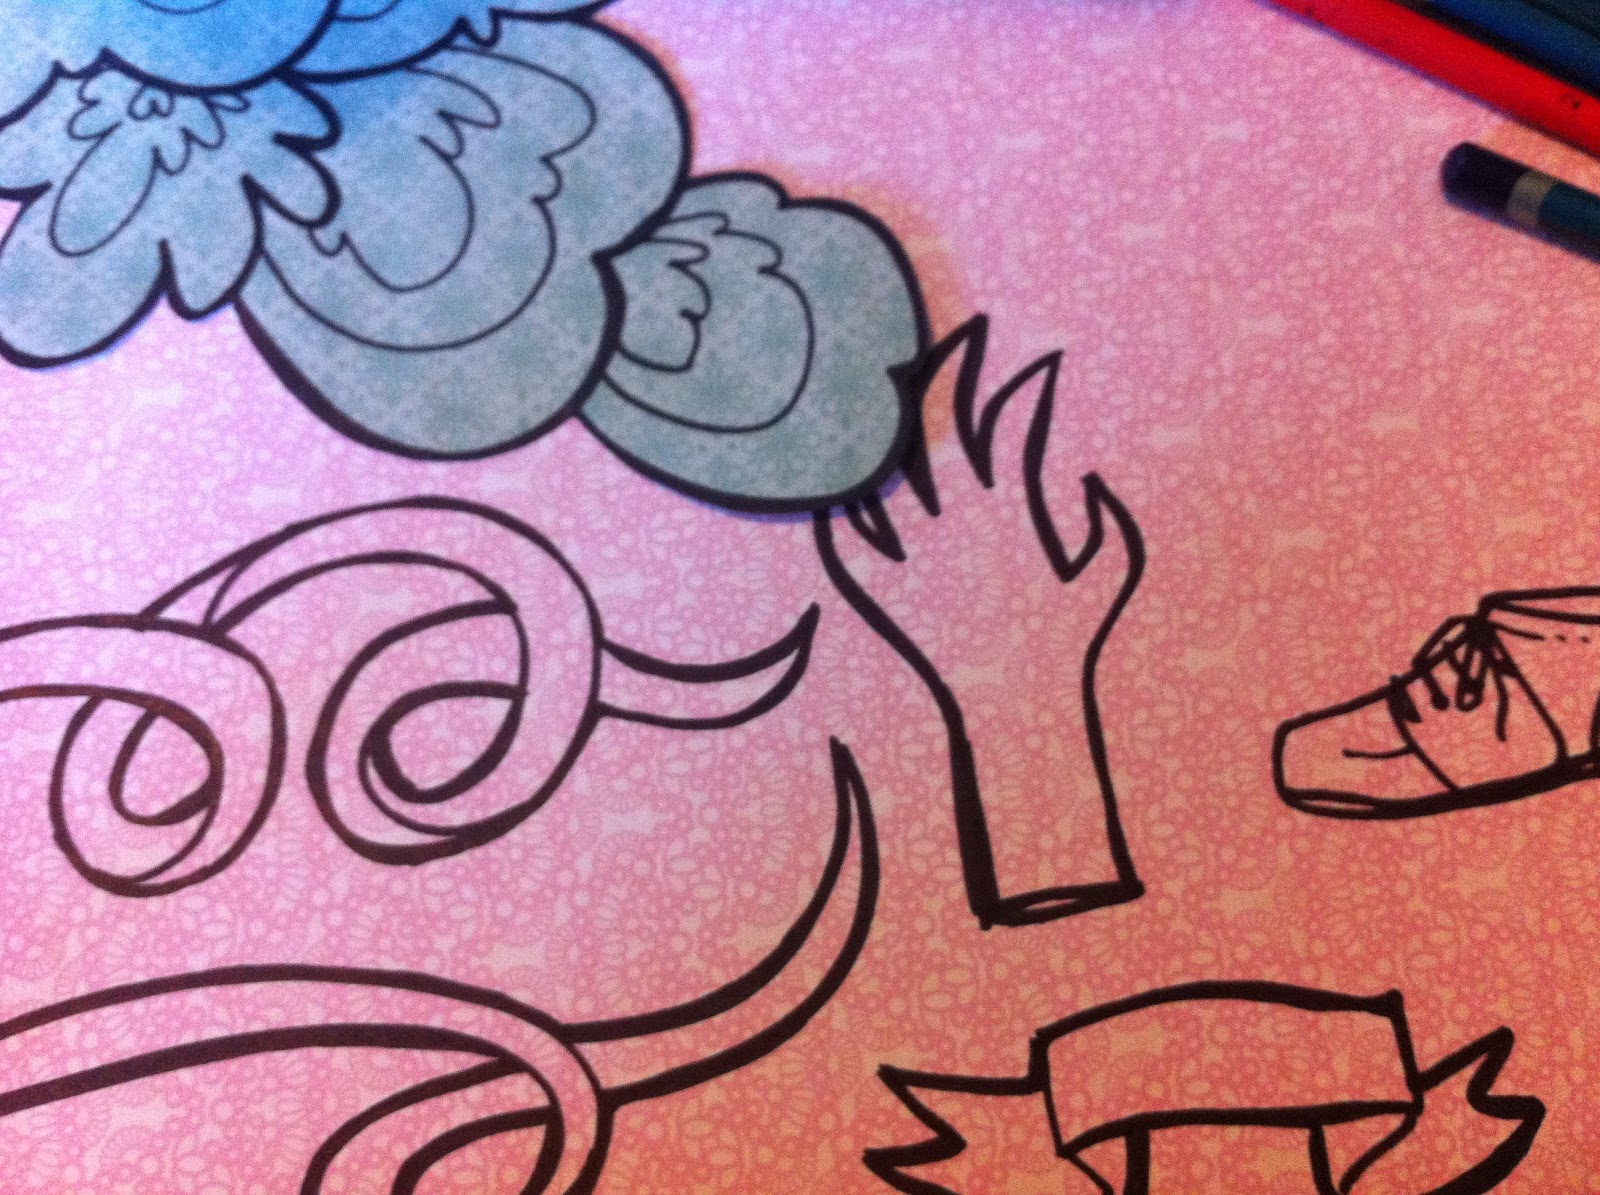
Its drawn on patterned paper, something which I appear to have an excess of. So I looted the scrapbooking paper stash, grabbed Gabe's toy horse for reference and got cracking. 

I sketched up a horse in pencil first and then drew around the outline in thick pen. 


Shade in other parts with another pen (ball point will do) just so that you don't entirely cover up the pattern on the paper.


Then I cut it out, making sure to keep the far outline as the thickest. Here are the two horses together... the one I drew has very weak back legs... terrible job on that one. 


I grabbed some other paper and drew up some patterns and cut out a whole lot of things that I can use later for embellishments and such in my book. All with a marker and a pair of scissors. Heck yes. 

I reckon it would be a great way to use up the scraps of paper that I have around the places, and its nice to have things in my books that I made, rather than stickers and things made by other people. Especially since the things other people made have to be paid for with money... which I often experience a shortage of. 


Thursday, 31 May 2012

Framed - kind of a tutorial.

Last night we only had one young lady for youth and so we gathered at Jess's house and chilled out on the floor in front of Aladdin (which I still know off by heart...) and decided to get crafty.

It's not something new to me, but sometimes it just strikes me just how effective a frame can be in 'legitimising' an arty creation. We illustrated this last night with what is probably one of the simplest and easiest art projects EVER. 

First - get some paper. A variety of scrap booking paper, or just one pattern, or you could use coloured paper or just whatever.
Second - Cut it into circles of varying imperfection.
Third - Glue the circles down on another piece of paper in a pattern (however you like) 
Fourth - Draw on a trunk and branches with any kind of pen you like. I used a regular old ball point.
Fifth - Now this is important. Put it in a frame.

You can do lots of things with it.


Add little drawings of things or do whatever you want. I put smaller circles on top of some of the trees for variety and no one is surprised that I chose a red riding hood theme... Trees and Red Riding Hood... Predictable much?

Our lovely ballerina with her creation. She used one pattern of paper and kept it simple and it looks AWESOME.
Jess did one with the trees in a row and some of them overlapped so she got to use the always epic foam tape. I didn't get a photo, but it had a very cute little stick figure couple in it which totally WON. I didn't get a photo of Charlotte's one either - but I will update you with more alternatives on this mega easy and therefore awesome art project.

UPDATE: Jess has posted some awesome pictures of her work on her blog, so go check it out... along with the most babe-a-licious photo of me evar... ahem.

Thursday, 9 February 2012

As easy as 1 2 3

Earlier I was going on about what I wanted to put up in Gabriel's room.

So today I made this... it's super easy and uses up paper scraps of which I have many. 
I got a cheap plastic frame from a $2 shop (it cost more than $2, but on a side note, those shops are seriously awesome) Then I cut some craft paper to fit inside, traced letters onto different patterns of paper, cut them out, stuck them down and closed the frame.
So easy.


 The letters I traced were die cuts (di-cuts?)... (whatever)... from Basic Grey that I had from my days working at the Scrapbook Burrow. This is the first time I've used them since then. I imagine that it would be a simple thing to use any kind of font you wanted (thanks The Internet) it would just take a little more prep. That way you could change the size up too.

I didn't have the time, or patience. I did this while Gabe was sleeping.


Easy.

Tuesday, 6 December 2011

Handmade Christmas

I am more excited about Christmas this year than I have been in a long time. I don't know if that's because there is a very real sense of a 'count down' due to the fact that I have opted to make everyone's prezzies this year or something else. Whatever it is, I like it.

Kyle and I haven't really bothered with Christmas trees in the past. This will be our third married Christmas, but its the first one that's in our own home (apartment) where we can't share in the light of our parents collectively decorated trees.

I had neither the money or inclination to buy a new one AND all the decorations it would take to populate it. With Gabe getting into everything it wouldn't matter anyway. So while I'm riding this whole 'handmade' Christmas thing, I thought I would make one.

I was inspired by a picture in Australian Homes and Gardens, but this is definitely more on the Eleanor is ghetto side of craft.

I very often HATE what I have painted, and so sometimes after layers of paint have gone onto a particular canvas I will cut it off and throw it away leaving a naked wooden frame ready for new canvas to be stretched over it and primed and painted and all that stuff. Instead I took one of those frames and stapled some linen over it.

Then I cut a tree template out of contact, stuck it down and then painted over the fabric with some mistinted house paint I picked up a month ago (with grand intentions to use it for something else)

I then nicked off with mum's glue gun and stuck anything I could get my hands onto on the tree. I have a tendency to keep a hold of things for a long time, and also to buy things for projects which never get made. So I had heaps of buttons, faux gems, decorations from Gabriel's baby shower, pocket watches that I gutted to turn into perfume lockets, old jewellery, odd earrings, a dream catcher, fabric flowers and badges that had no other purpose.

The star at the top I made by following a kinigami tutorial (in portugese?) on YouTube and then adapting it with a heap of folds and some glue and beads.


Our Christmas Tree!!